

/image%2F2671538%2F20210419%2Fob_819872_img-0313.JPG)
6 Tips for a beginner seamster or seamstress
Hello World~~~
As you probably know already, I recently started my journey into the DIY and sewing world. I was gifted a sewing machine for Christmas by my mother and a pair of tailor's shears last month, by someone else. The shears i linked are very similar in appearance to mine.
DISCLAIMER: Bear in mind that some of the links in this post are affiliate links and if you go through them to make a purchase I will earn a commission. I used these affiliate links to give you the option to check the book out, for yourself, if you so wish, through a well-trusted seller. While I will be very glad if you buy any of the linked items, the decision to do so or not, belongs to you. Thank you for reading!
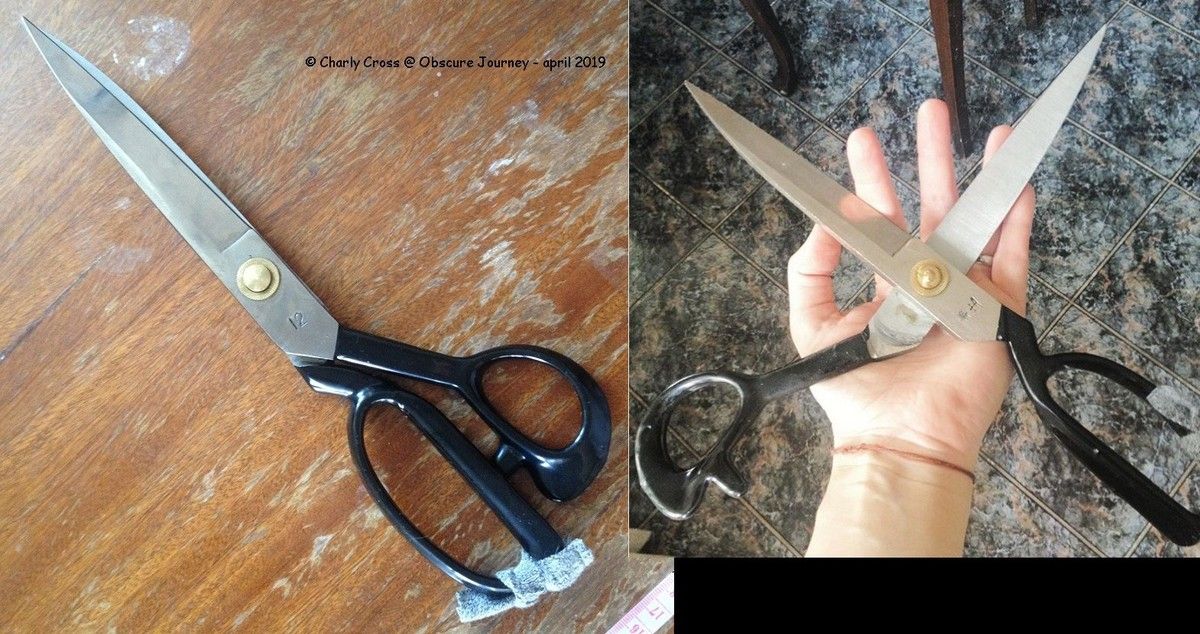
Aren't they beautiful? To me, they're beautiful. And they're also heavy.
Well, they were cheap and made in China - the box was covered in Chinese writing, and although I started studying this language, I'm still a beginner (read that, as in I made no more progress since this post) and hence, I cannot read what it said. I also threw the box away. What matters more is that they cut what I need them to cut.
While 4 months are definitely not enough to say "I know things," I did learn quite a bit. Here are my few tips if you just start this journey and you feel overwhelmed.
Fair warning though: some of these tips are for those who consider making a living out of their skill, hence they need to appear professional. Other tips are more like a warning, details I didn't think of when I decided to take on this hobby/journey.
1. learn the right names of the tools
I'll talk about 3 different tools, as examples.
a) For instance, I was saying "my scissors" when in reality I own a pair of shears. In all honesty, I thought these two words refer to the same item, but they're used in different parts of the world. In a similar fashion to how some people say "trousers" and "pants" when referring to the garment covering the body from the waist down, with 2 hoses, one for each leg.
When it comes to shears and scissors, the difference is in the holes through which your fingers go in order to manipulate the tool. The shears have a larger lower hole, while the scissors have equal holes.
b) Similarly, if you're into sewing or making (your own) clothes (or for your family), you also have to learn the proper names of the fabrics. If you're interested in up-cycling or refashioning clothes, this aspect might not be as important.
Personally, I'm in the process of learning about fabrics:
- fibers (how the name of the fiber was used to name the fabric, though in some cases it's another type of fiber used. Take for instance "linen" used for "linens" made of cotton),
- origin, or where you're more likely to find certain types of fabrics. As an example, lacebark originates in Jamaica, and is as fine as muslin.
- how they're obtained - knitting or waving, natural, synthetic, man-made.
c) Still related to tools, you'll find 2 types of sewing machines: domestic and industrial. You should learn the differences between them! This video explains better, and even shows an industrial one. There's also this other video better showing the differences between sewing machines at different price levels, though all of those are for domestic use. I learned the following from the 2nd video:
- sewing machines with a front loading bobbin are faster than the ones with a drop-in bobbin.
- some machines have 2 lights instead of one, and the difference that makes is quite something.
- industrial machines will only have 1 type of stitch - for instance, just running stitch. They can also load a bobbin at the same time you're sewing, whereas a domestic one can't.
2. learn how to correctly use them
If you learn what differentiates one tool from the other (say, shears and scissors), you can also learn how to use them. Usually this happens at the same time.
This page opened my eyes to how I'm supposed to hold and use my shears. This other page has more types of such tools, and names some of the best you can find.
Maintenance is important and part of correctly using the tool, if you want it to last for years to come. Not long ago I learned that I'm supposed to clean and oil my sewing machine every week, if I use it often. If i use it now and then, I'm supposed to clean and oil it every time I plan on using it.
In my experience with my machine, it needed cleaning and especially oiling after about a month since I got it. I can't say I used it a lot in January, but in February it already started to be rather noisy. Once I oiled it, it started purring again, like when I got it.
Learning about textiles, you'll learn that some fabrics simply are not good for certain projects. You also learn how to care for the end product without destroying it, say through bleaching or simply washing.
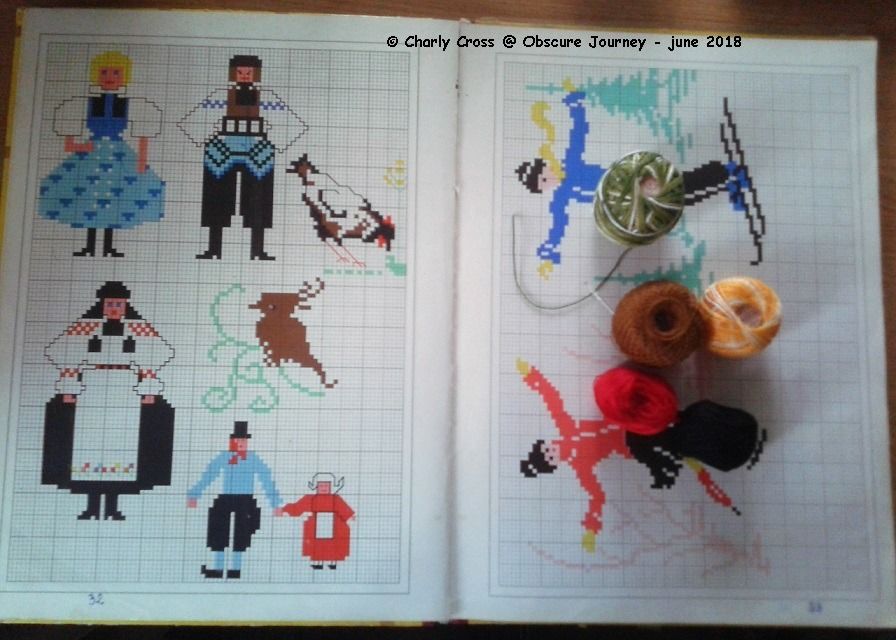
3. find some sort of mentor and/or muse
Or at least a person with whom you can connect, or inspires you to go through with your project. As a beginner in any trade, actually doing the task can be a bit scary, right? "What if I cut this fabric wrongly?" "what if it turns out really ugly?"
Well, I'm lucky and happy to say that I found at least 1 person to support me when I feel scared, or when I'm not sure of what I do. They are A, and they also inspire me with things - mostly with the written stuff. But A can also give great advice when it comes to color combination, or gives an honest opinion if asked "how does THIS look?"
I'm pretty lucky to have discovered someone I could call a mentor - Angelina, the lady behind BlueprintDIY (her Youtube channel, and her Instagram). /shoutout! She actually gave me the push I needed to enlarge a pair of jeans so that I could wear them. Let's get real, I wouldn't have lost the extra 5kg I needed to get in these pants. I will post another blog entry about this process. ;)
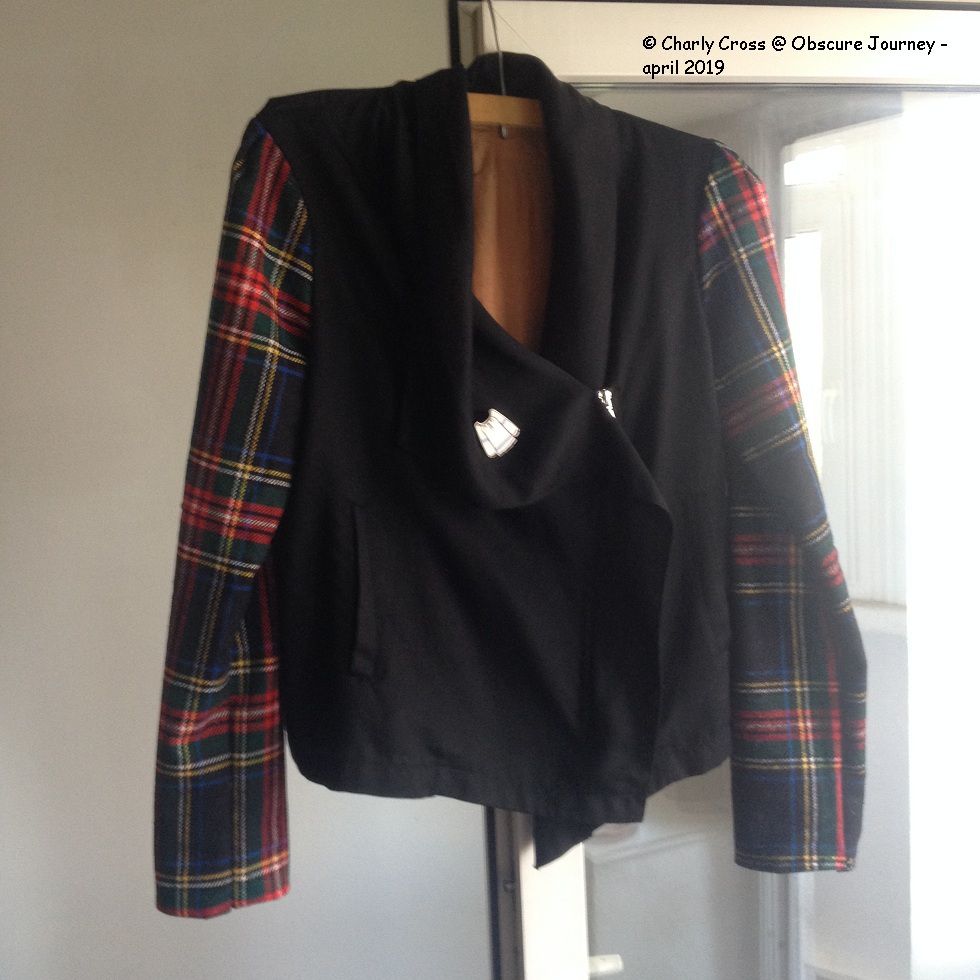
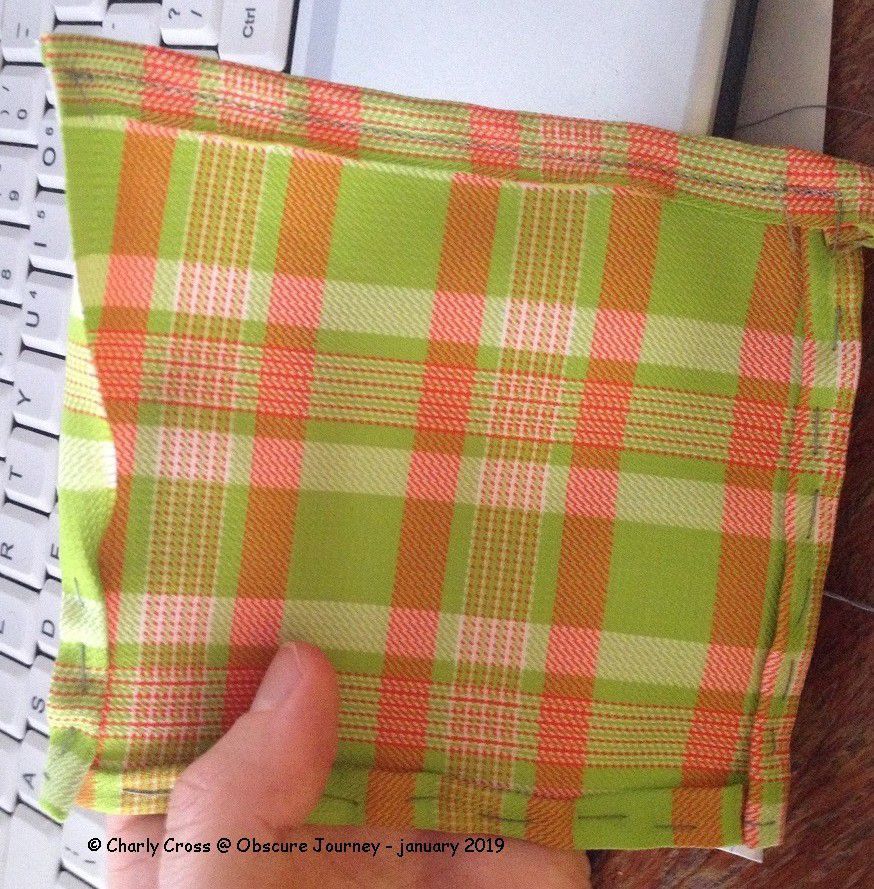
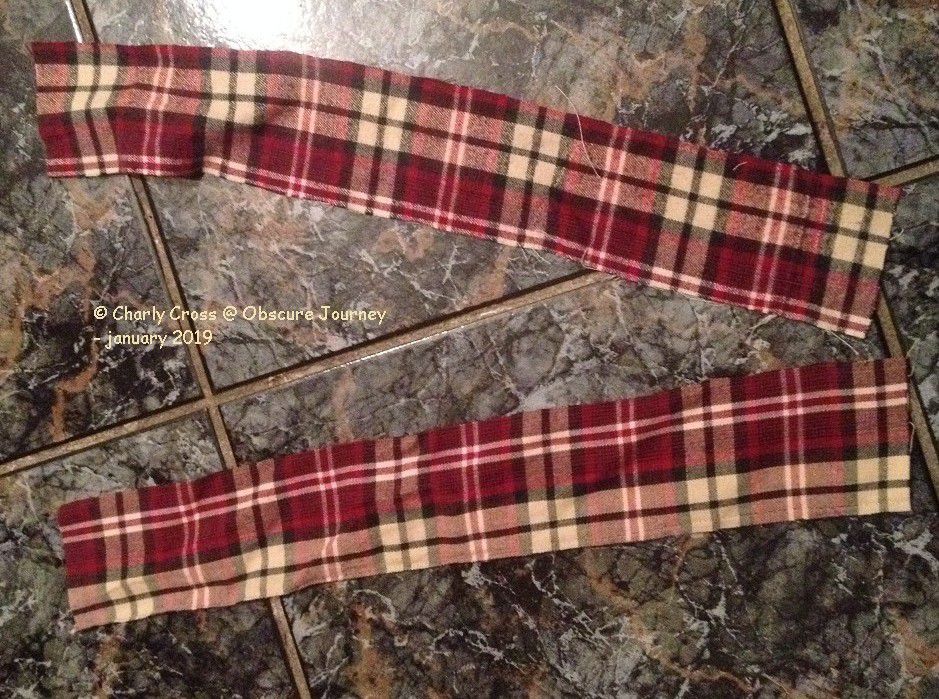
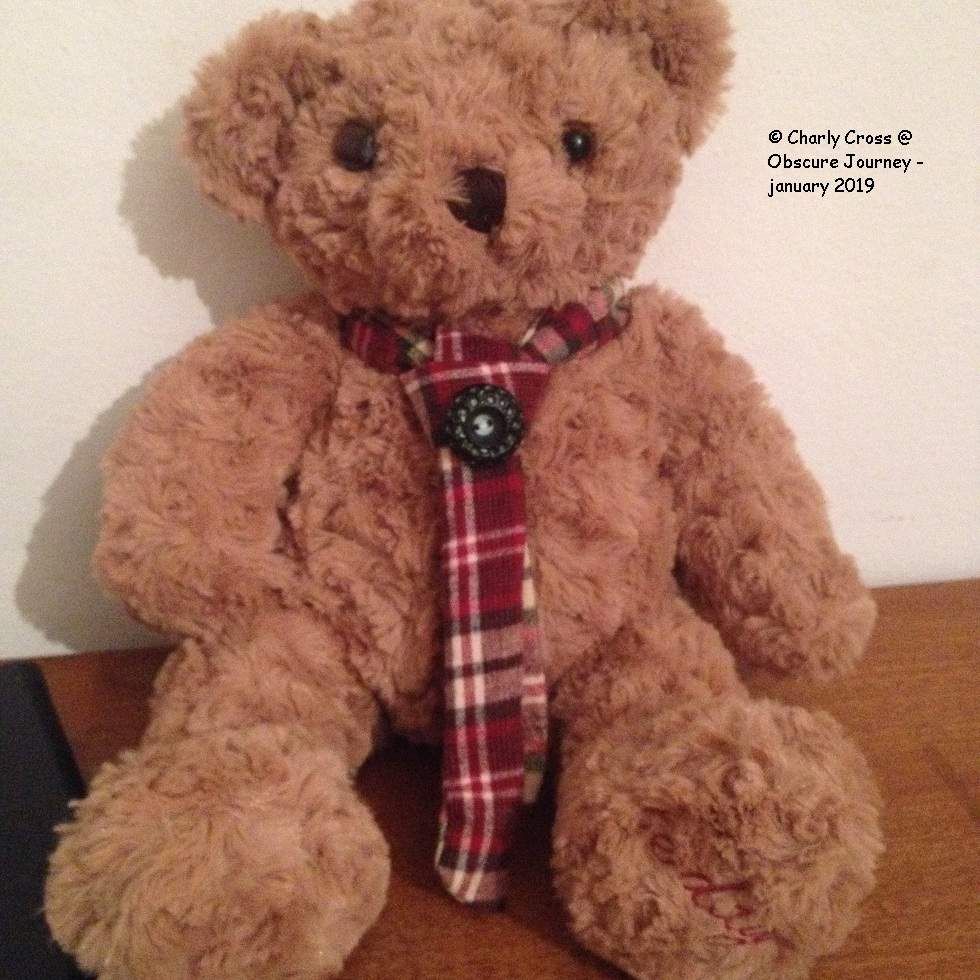
Someone telling you "just do it!" or "go for it!" is all it takes at times, to actually get over the "what if ..." fear. Instead, you could get the excited "what if this turns out great?!" Which is what happened with a 2nd project about which I will write soon enough, but I will offer a spoiler for it right here:
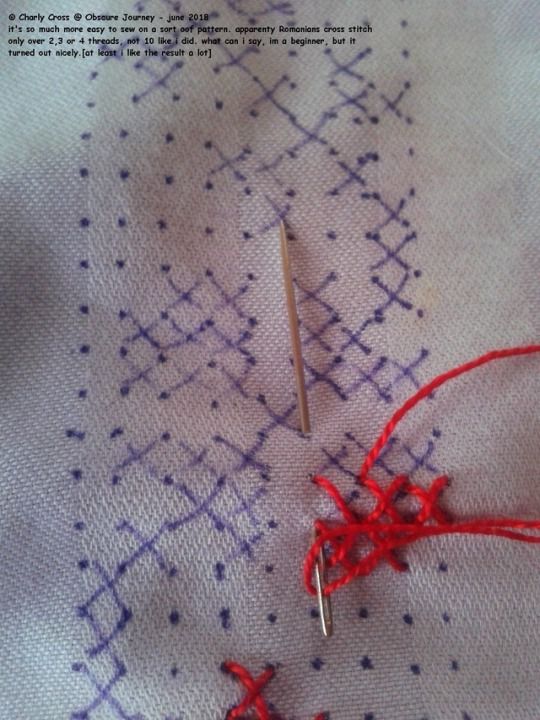
4. don't be scared of making mistakes
As a beginner you'll definitely make mistakes - everyone makes them. And you know what? Even those with experience in the field will make mistakes. Luckily, when you sew, a mistake will not cost someone their life, like it would happen with a doctor for instance. However it can prove more time consuming and more expensive.
Remember that you don't really learn anything until you try things out and make mistakes. One of the things you'll learn is what you could improve, what technique to stay away from because it's incorrect, and so on.
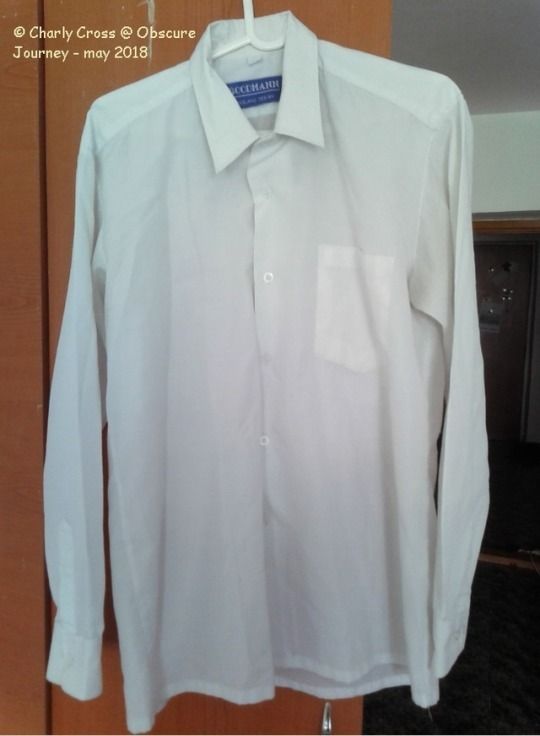
5. fabric IS real fabric - no matter its origin
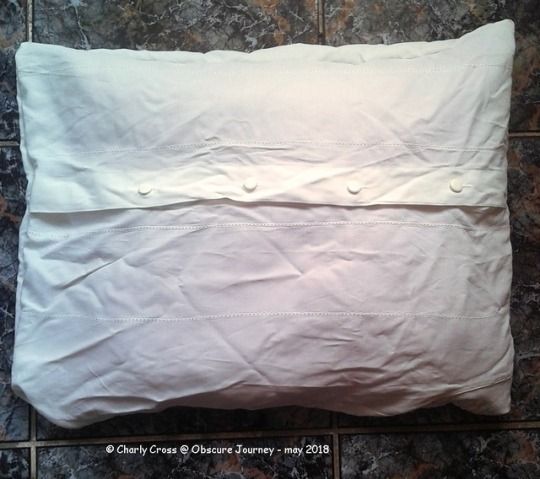
This point was triggered by a video I watched - I forgot which one. The lady speaking (giving advice) was saying to go to thrift stores to buy sheets and curtains to use for your projects, especially as a beginner. This way, you avoid ruining "real fabric" and waste money. I suspect she meant brand new (virgin, if you will) fabric, that was never used for anything else before.
But, in my book, when you take an item and cut away its seams, it turns into "real fabric." It still cost some money, even it was just 50 cents yesterday, or 100 dollars 10 years back. As long as the material is in a good shape and big enough to make something out of, I call it "real fabric."
6. it takes time and more actions than what you thought
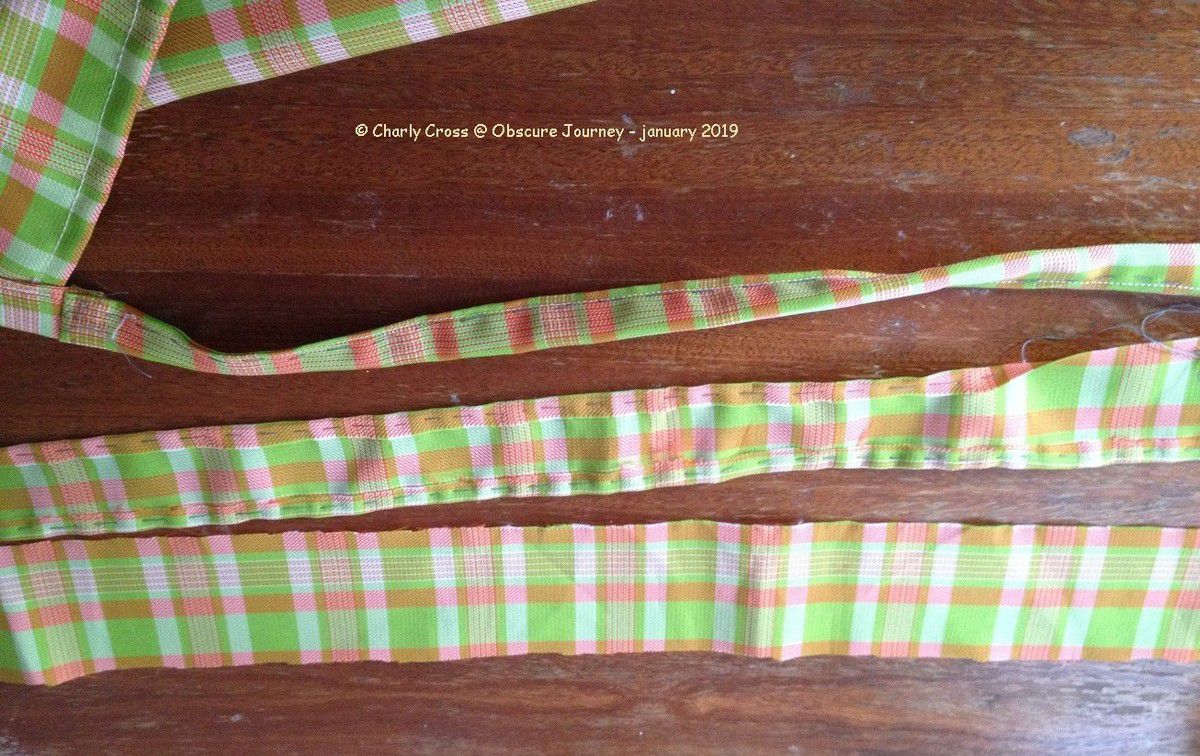
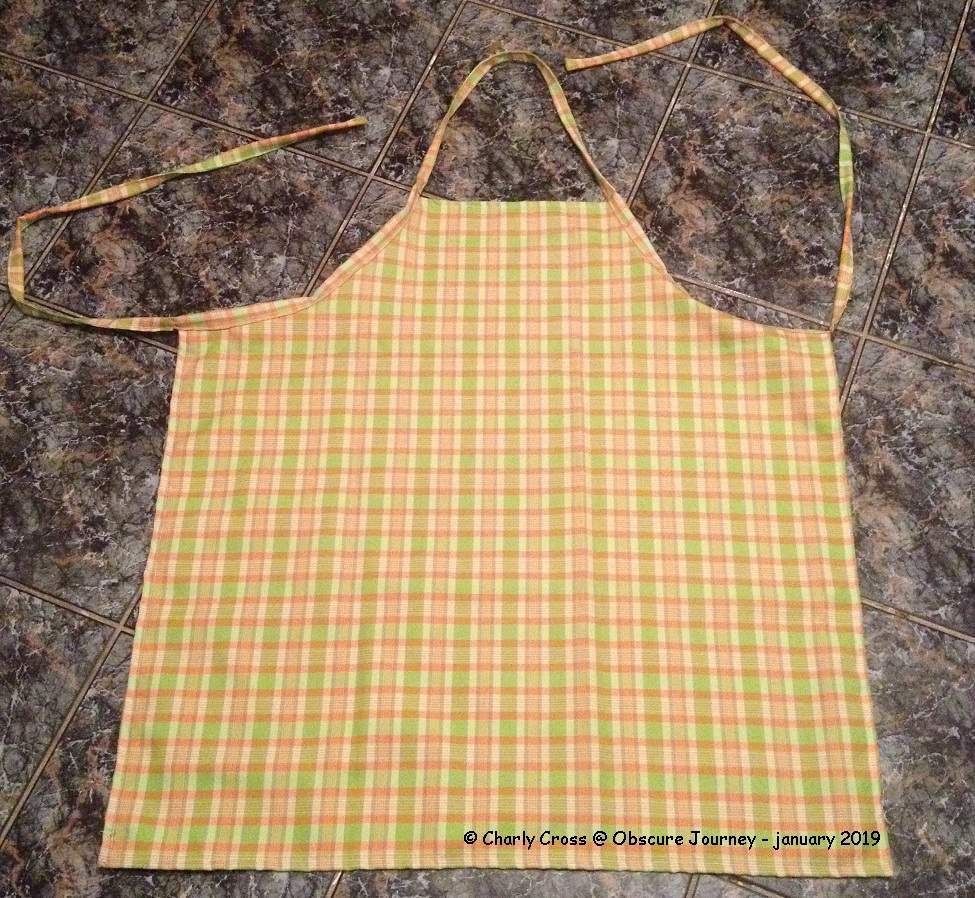
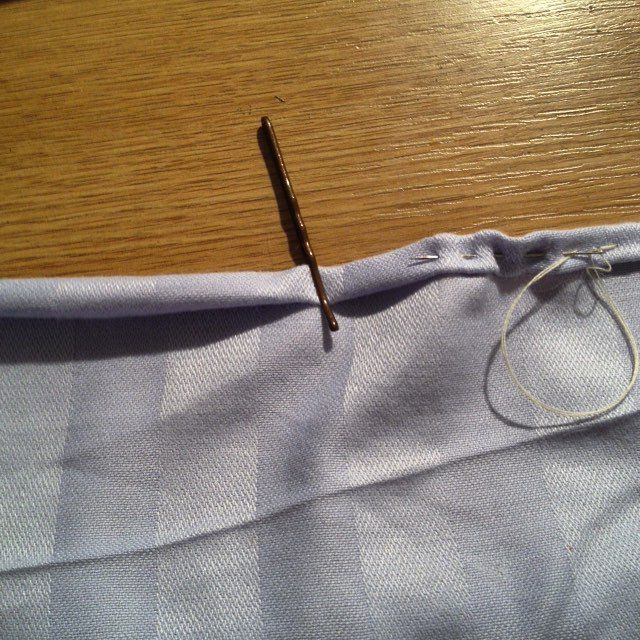
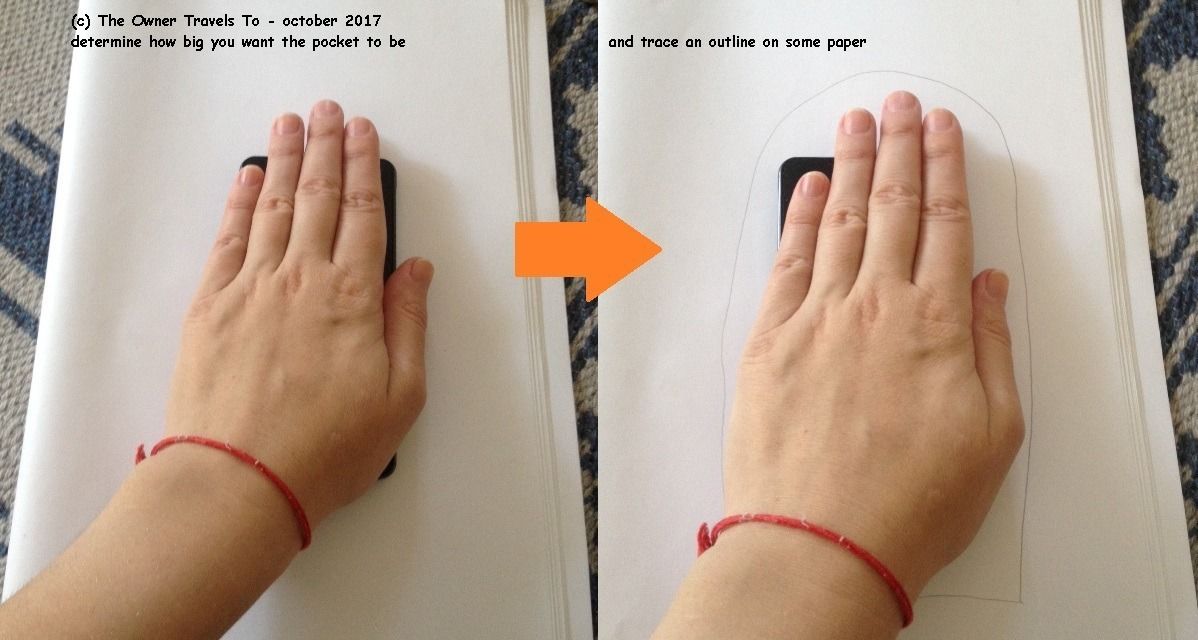
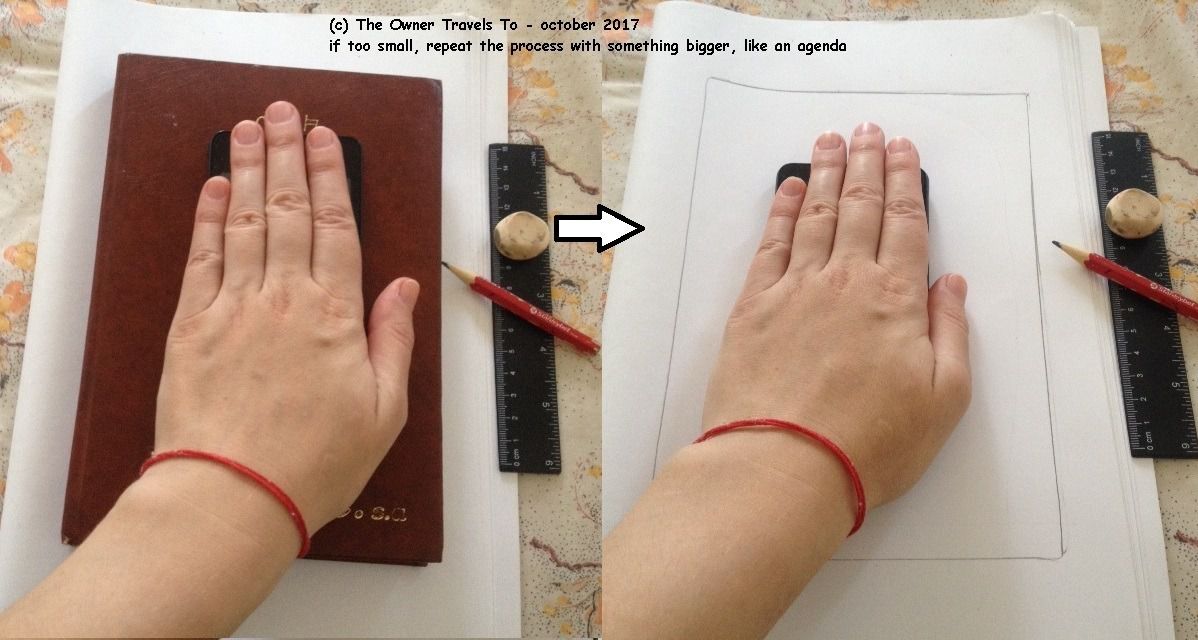
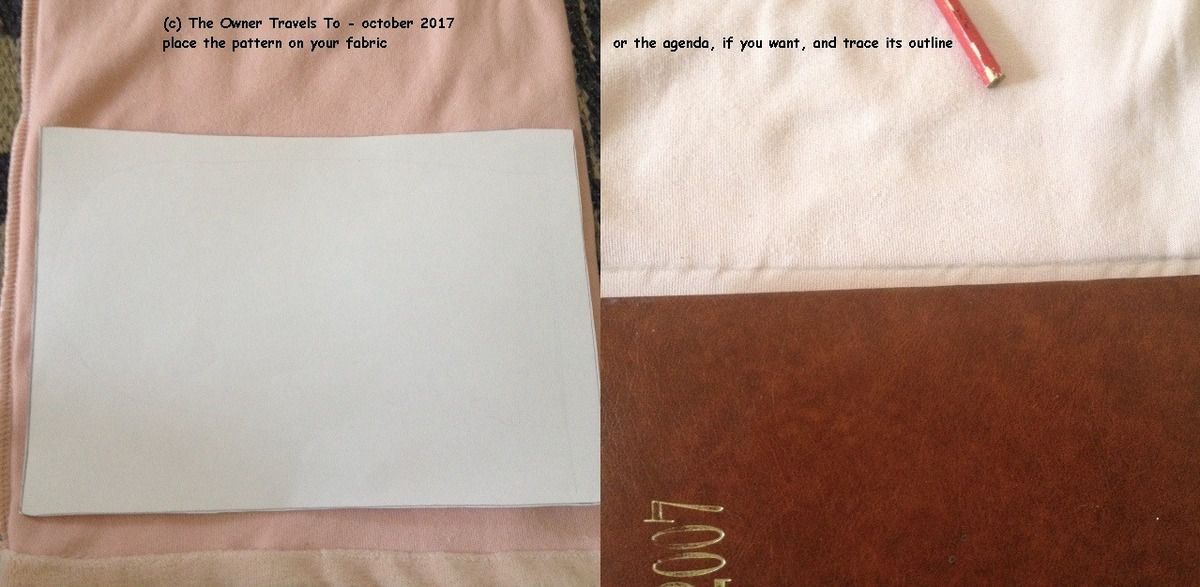
Let's just say you can't just take a needle and some thread and start sewing: you need a plan first, or a goal. This can be - fixing a hole, applying a button, re-doing a hem, and so on.
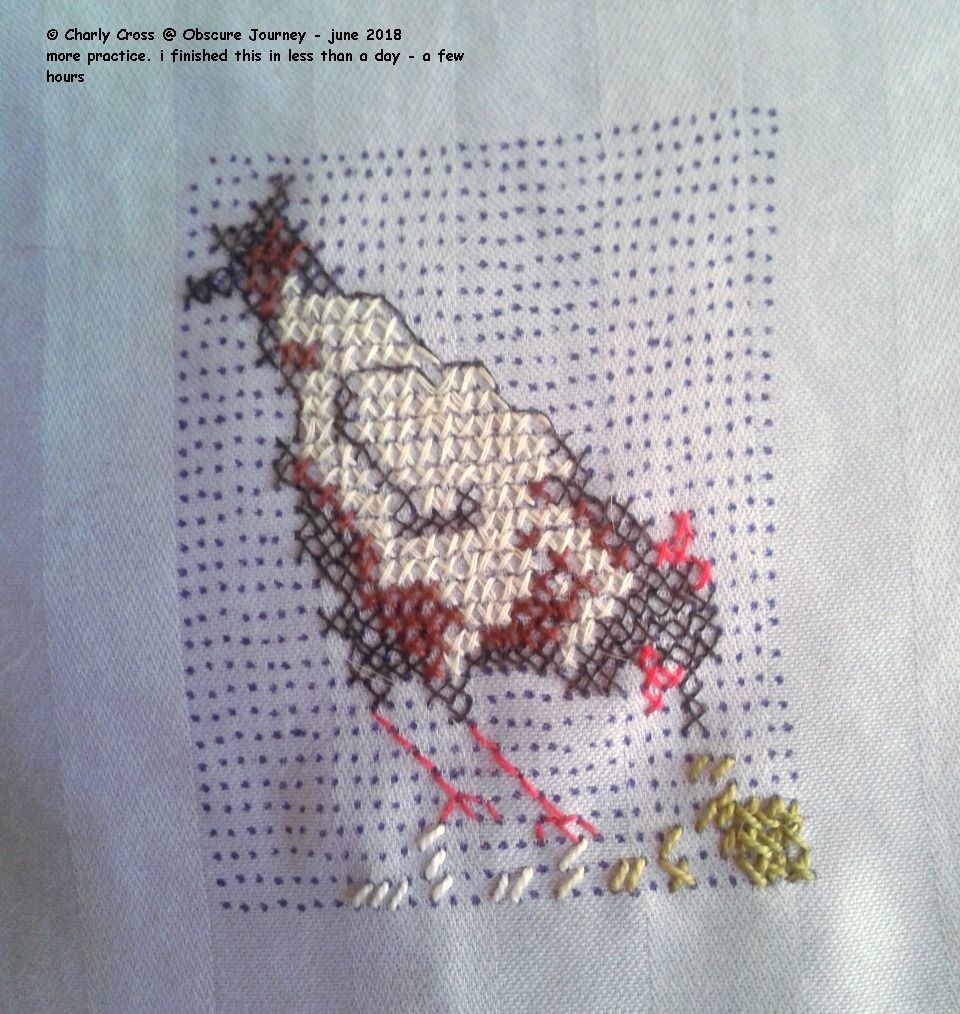
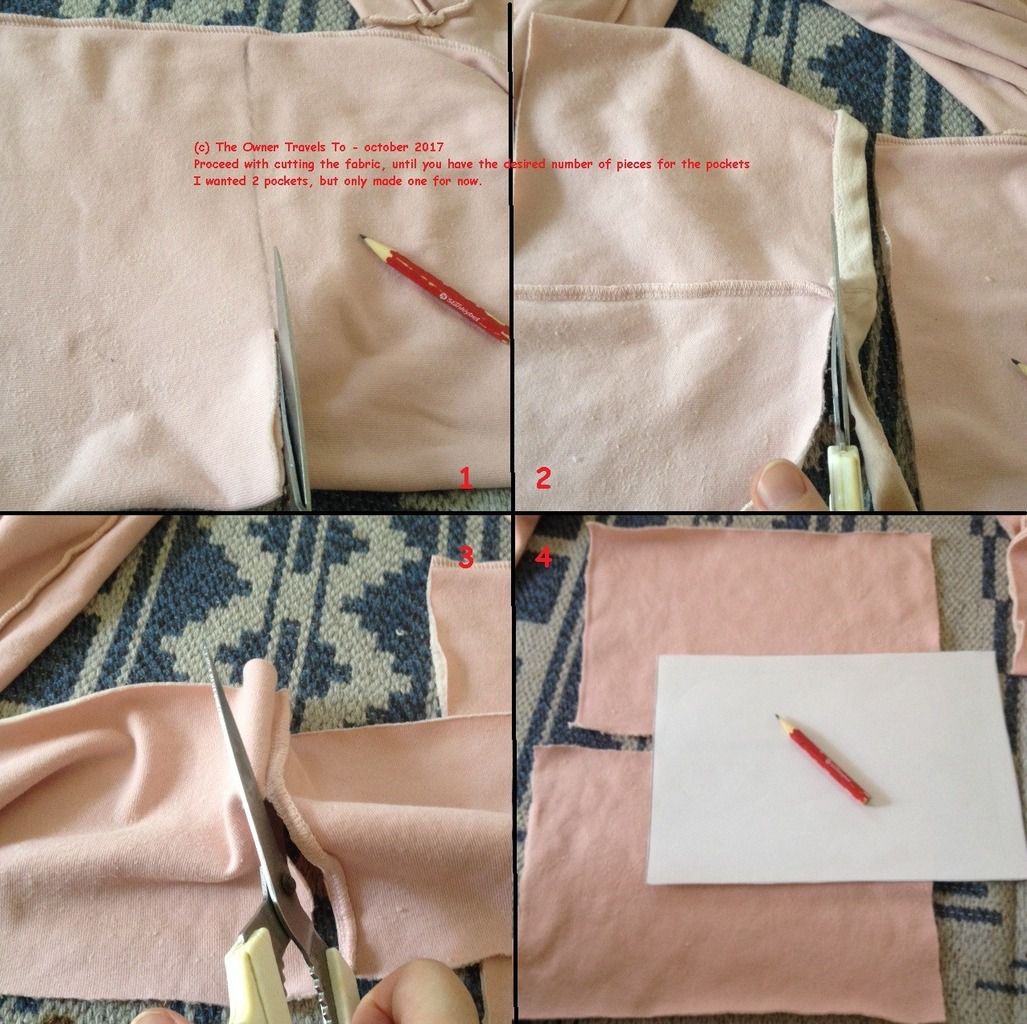
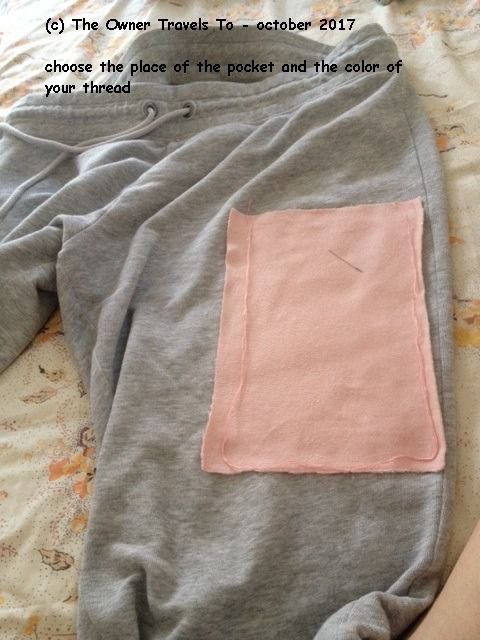
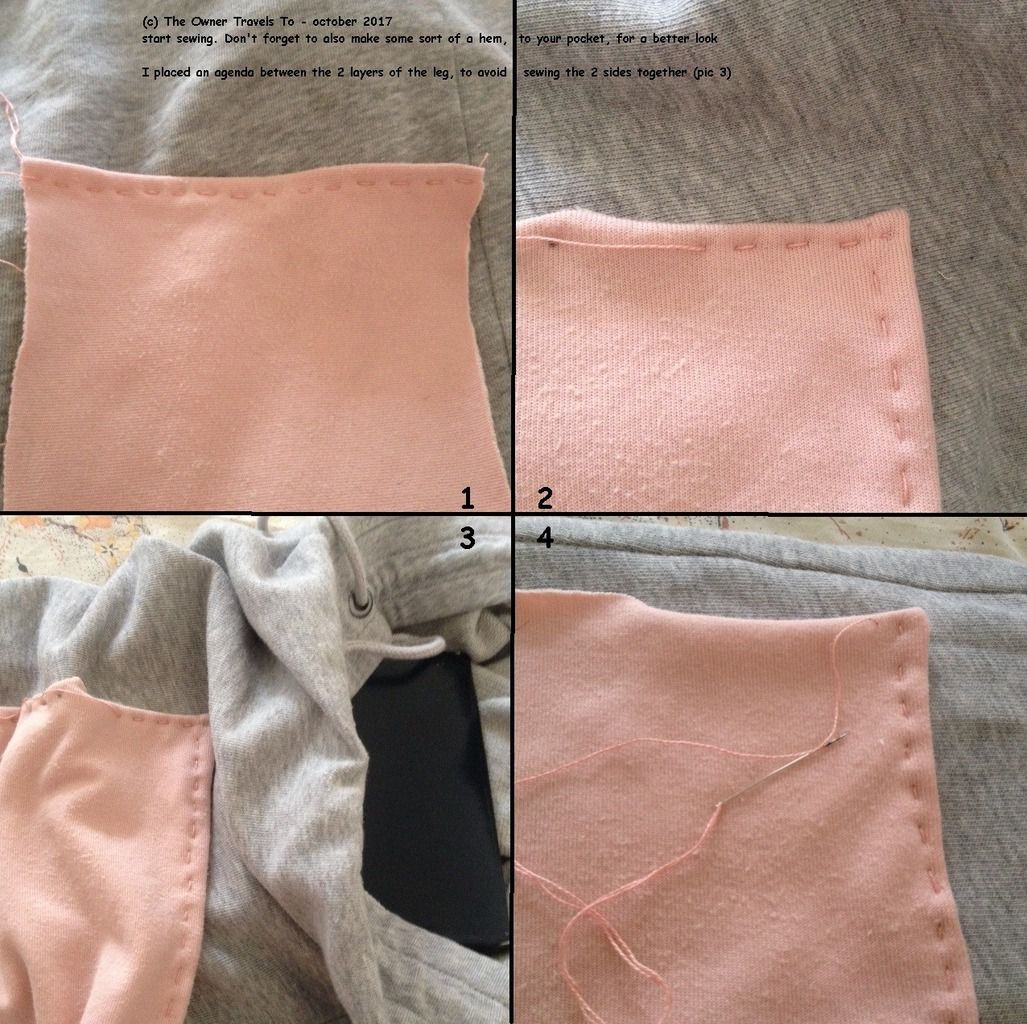
But before you get there, you might have to measure some stuff, draw a pattern or two, cut it, cut fabric, and then sew pieces together in a certain sequence. Depending on what you're making, you might have to try the item on from time to time. Depending on the item and number of pieces you have to sew together, and details you want to add, you'll be spending a few good hours "sewing."
But don't worry: the end result might be worth all the effort.
© Charly Cross 2013 - present. All rights reserved.


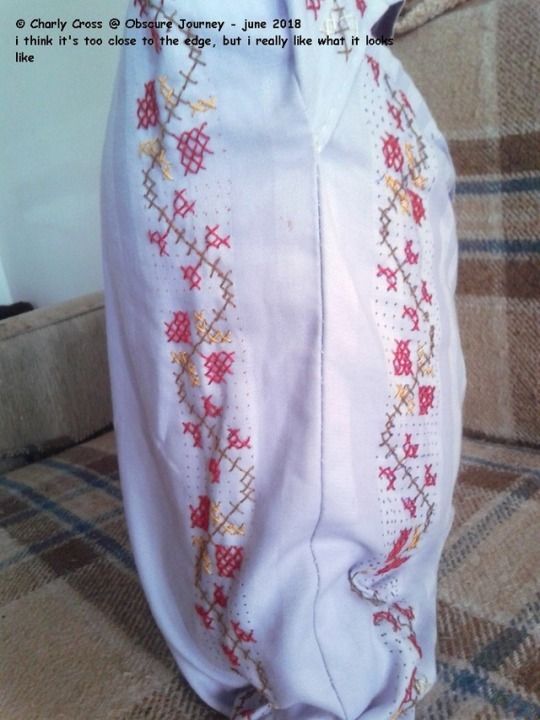
![i changed the design a bit more [3rd picture above]](https://img.over-blog-kiwi.com/2/67/15/38/20180706/ob_a38897_tumblr-patlhmuwar1u8vlf0o3-1280.jpg)
![i changed the design a bit more [3rd picture above]](https://img.over-blog-kiwi.com/2/67/15/38/20180706/ob_2852ce_tumblr-patlhmuwar1u8vlf0o4-1280.jpg)
![i changed the design a bit more [3rd picture above]](https://img.over-blog-kiwi.com/2/67/15/38/20180706/ob_7d3de1_tumblr-patlhmuwar1u8vlf0o1-540.jpg)


/image%2F2671538%2F20180226%2Fob_f9c4d6_charly.png)